

Building a custom mechanical keyboard
Building a custom mechanical keyboard is a rewarding project that allows you to create a keyboard that perfectly suits your needs and preferences. In this article, we will guide you through the steps of building a custom mechanical keyboard.
Step 1: Choose Your Layout and Switches

The first step in building a custom mechanical keyboard is to choose the layout and switches you want to use. There are many different layouts to choose from, including standard, tenkeyless, and 60% layouts. Switches also come in a variety of types, including linear, tactile, and clicky switches.
Step 2: Choose Your Case and Plate

Next, choose a case and plate for your keyboard. The case is the outer shell of the keyboard, while the plate is the metal or plastic piece that holds the switches in place. The case and plate you choose will depend on the layout and switches you have selected.
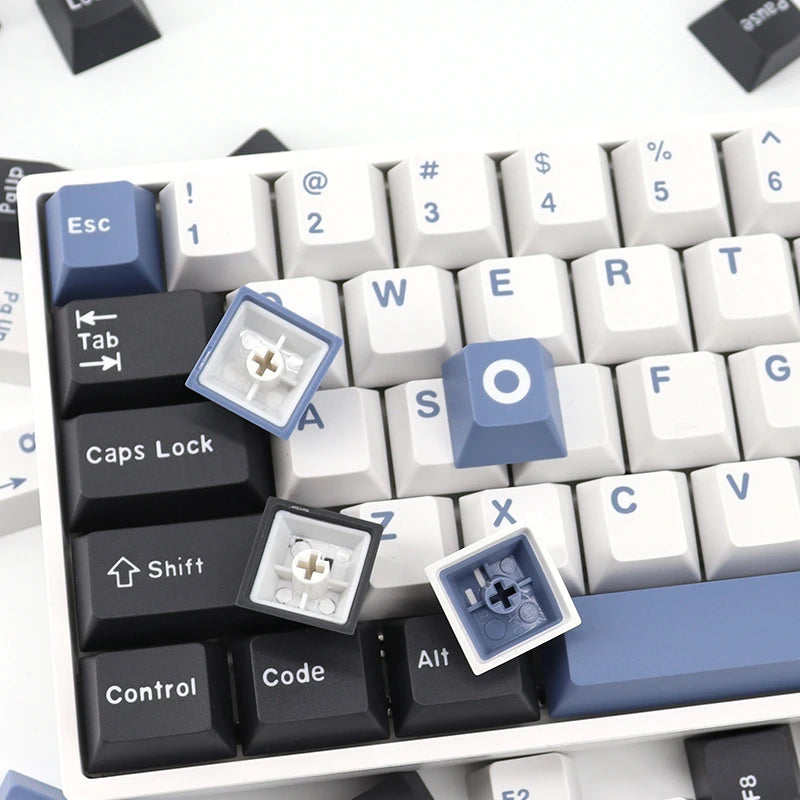
Step 3: Choose Your Keycaps

Once you have chosen your layout, switches, case, and plate, it is time to select your keycaps. Keycaps come in a variety of materials, including ABS plastic, PBT plastic, and even metal. You can also choose from a wide range of colors and styles.
Step 4: Build Your Keyboard

Now it is time to assemble your custom mechanical keyboard. First, install the switches into the plate. Then, insert the plate into the case and screw it in place. Next, attach the PCB (printed circuit board) to the plate and solder the switches onto the PCB. Finally, attach the keycaps to the switches.
Step 5: Test Your Keyboard
Once your keyboard is assembled, it is important to test it to ensure everything is working correctly. Connect the keyboard to your computer and test each key to make sure it registers properly. If any keys are not working, check the soldering connections and troubleshoot the problem.
Step 6: Customize Your Keyboard
Now that your keyboard is built and working, you can customize it further. You can program the keys to perform different functions, add RGB lighting, or even customize the case with stickers or paint.
In conclusion, building a custom mechanical keyboard can be a fun and rewarding project for keyboard enthusiasts. By following these steps, you can create a keyboard that perfectly fits your needs and preferences.